Using the desktop app
The most common use case for running Paddler's desktop application is when one person acts as the Cluster Manager and runs Paddler's cluster on their machine, and other members in the network join the cluster as agents and share their computational power. The following guide describes this use case; however, you can also run both the cluster and the agent from the same computer.
Starting the desktop application
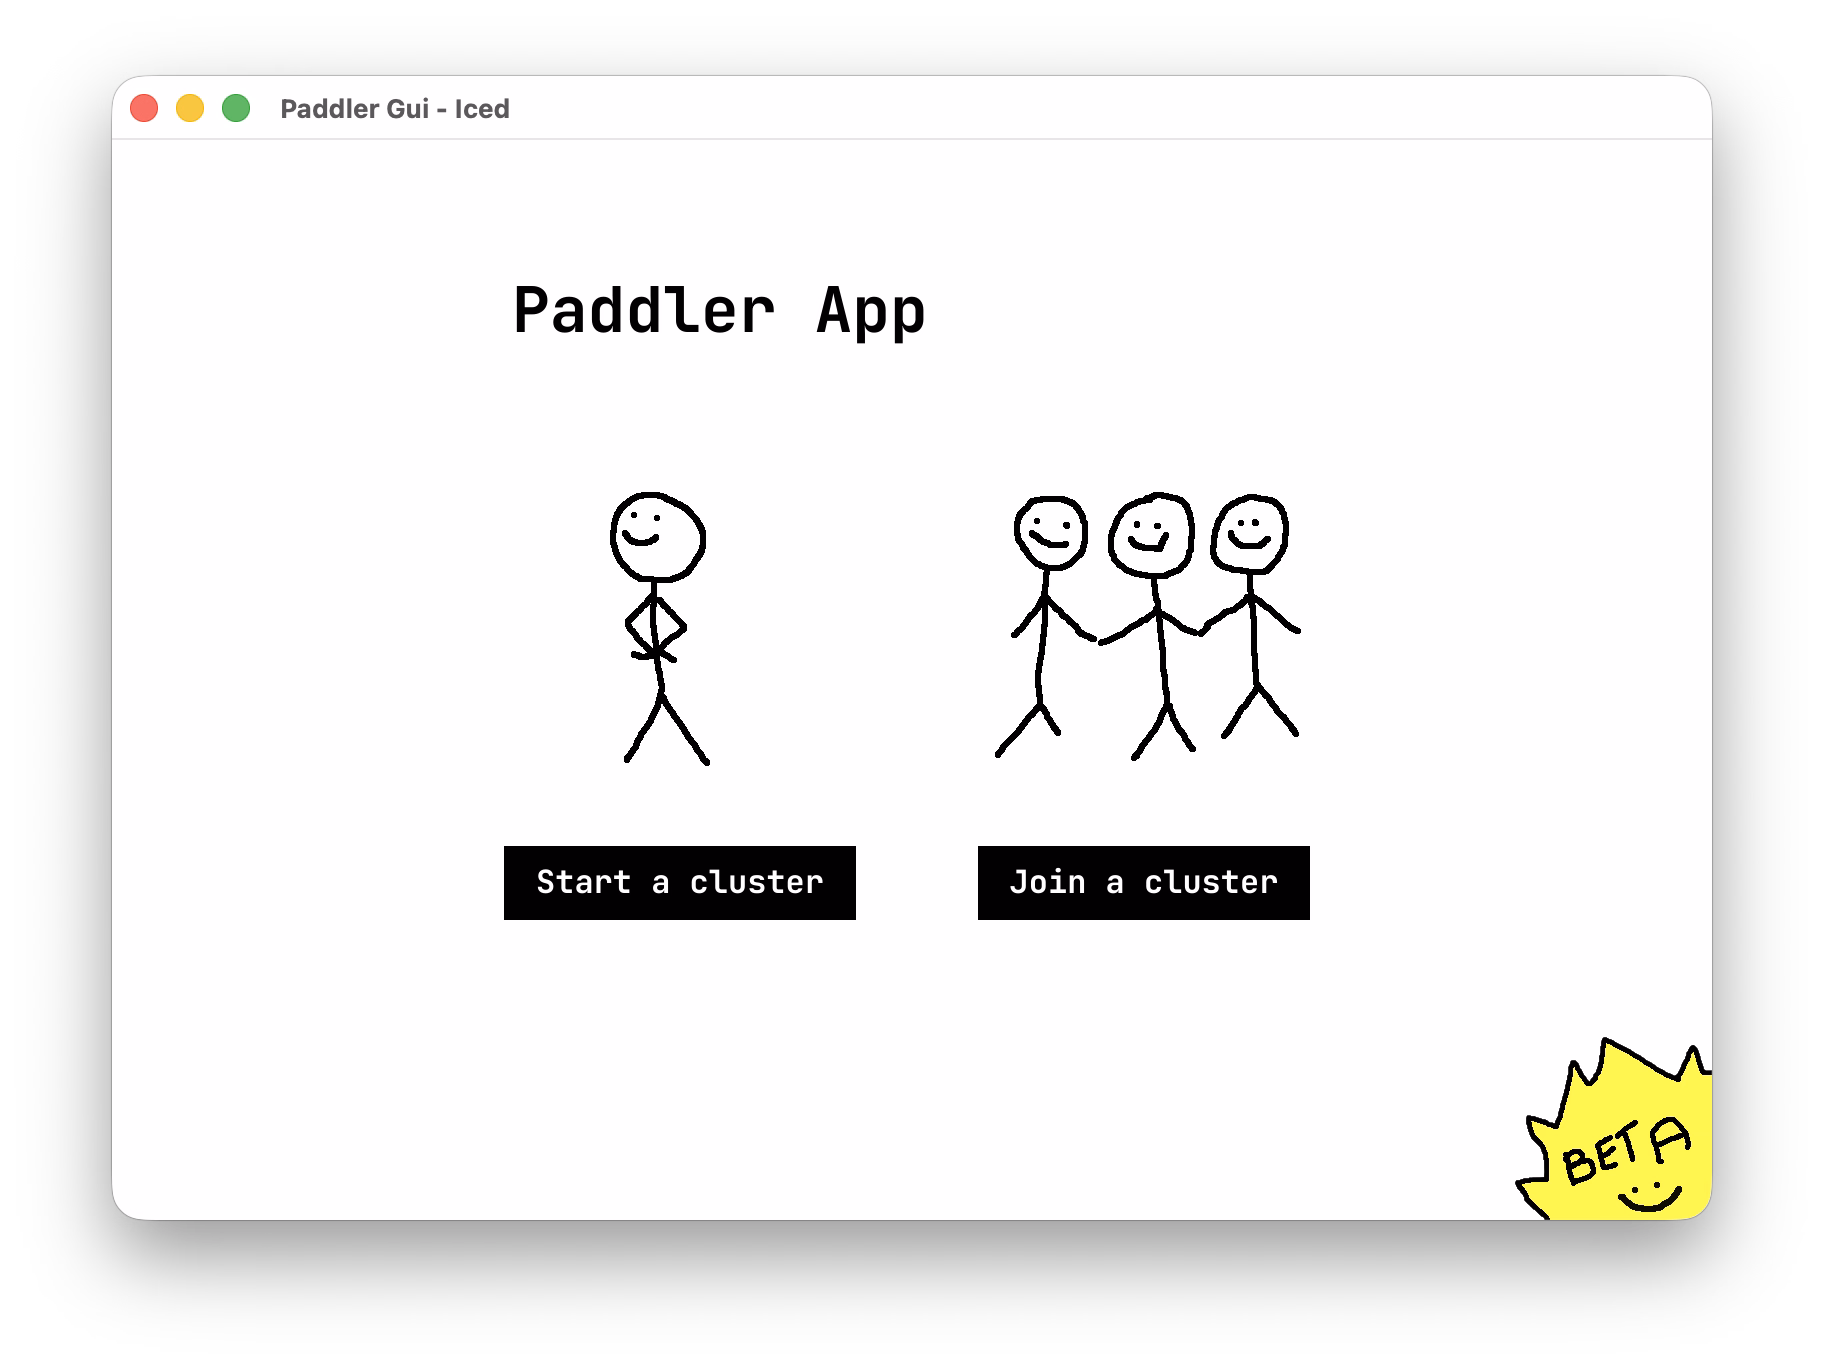
Right after running the desktop application binary (see desktop app installation guide for more information on installing and running it depending on your operating system), you will see the home screen with two options:
Start a cluster(for users who wish to be cluster managers and will make their machines available to run the cluster)Join a cluster(for users who wish to join the cluster with their computers as agents).
Running the cluster
To start the cluster on your machine, click the "Start a cluster" button on the app's home screen. This will show you a quick form to configure the cluster before starting it.

First, you need to define the Cluster address - the IP address and port that other people in your network will need to provide to join the cluster. You can provide any IP address and port you wish to have the cluster available from, but by default, the desktop app detects your local network's IP address and suggests 8060 as the port. Provided nothing else in your networks occupies this port, you can leave the suggested value as is.
Next, you need to define the Inference address. This is where Paddler's inference service can operate to generate tokens. You do not need to shate it with anyone, and similarly to the cluster address, the desktop app should detect your IP address and suggest 8061 as a port. If it's available, you can leave the suggested value as is.
Optionally, you can also run the cluster with the Web admin panel enabled. It will offer you a more advanced GUI to monitor and manage Paddler's cluster that you can run from a browser (for example, you can use the web admin panel to provide your own models - you can learn more about the web admin panel and its features here).
If you want the web admin panel enabled, provide the IP address and port from where you want to make it available (as a placeholder value, the desktop app detects your IP address and suggests 8062 as the port).
Finally, select a model. Paddler's desktop application comes with a few model presets you can select from the dropdown. If you want to use another model, you can do so after starting the web admin panel. Just select the "Apply a model later" checkbox and make sure you start the cluster with the web admin panel enabled - you will need to use the panel to provide the model path.
Next, submit the form.
Monitoring the cluster
After the initial configuration is submitted, you will be able to monitor your cluster.
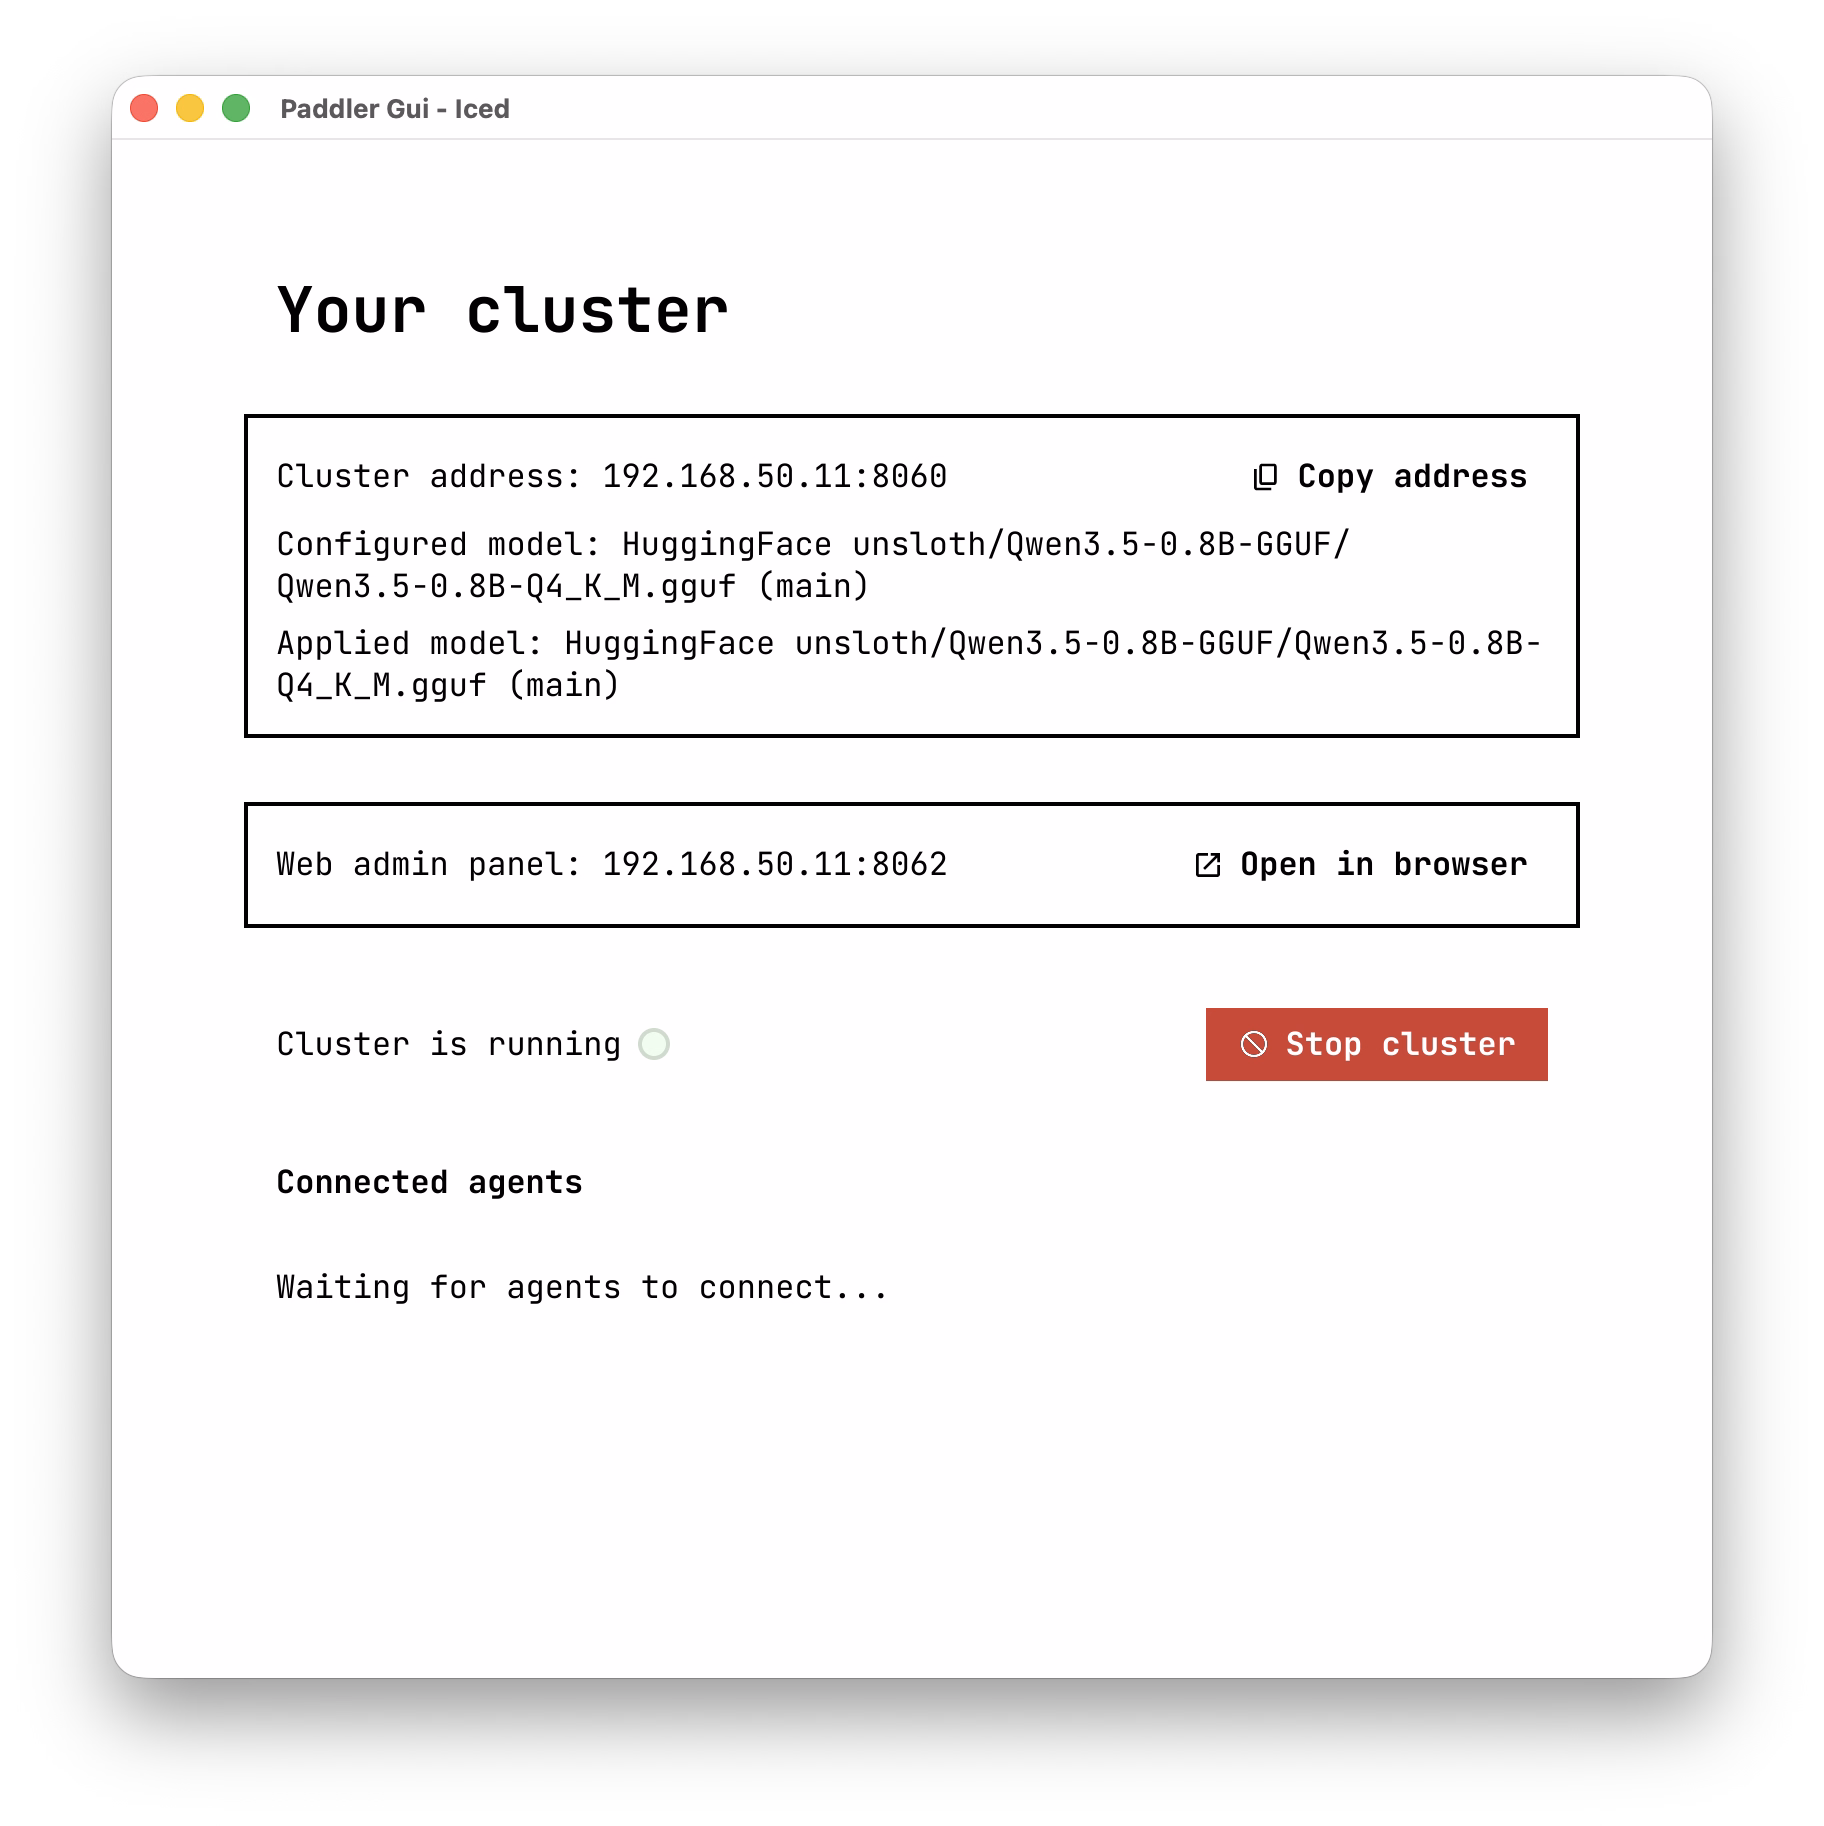
On this view, you can easily copy the cluster address (just click the "Copy address" button) and share it with your team members from your network whom you want to invite to the cluster as agents (for example, by sending the cluster IP address and port over Slack or other apps) - this is the only piece of information they need to join your cluster.
Next, if you enabled the web admin panel, you will also see the button to easily open it in the web browser (so that you never need to memorize the IP address or ports).
Finally, you can manage the cluster. You can stop it, and once other people join as agents, you will also see the list of the agents on this view.
Joining as an agent
To join the cluster as an agent, click the "Join a cluster" button from the home screen. From there, you will see a short form with just a few inputs.
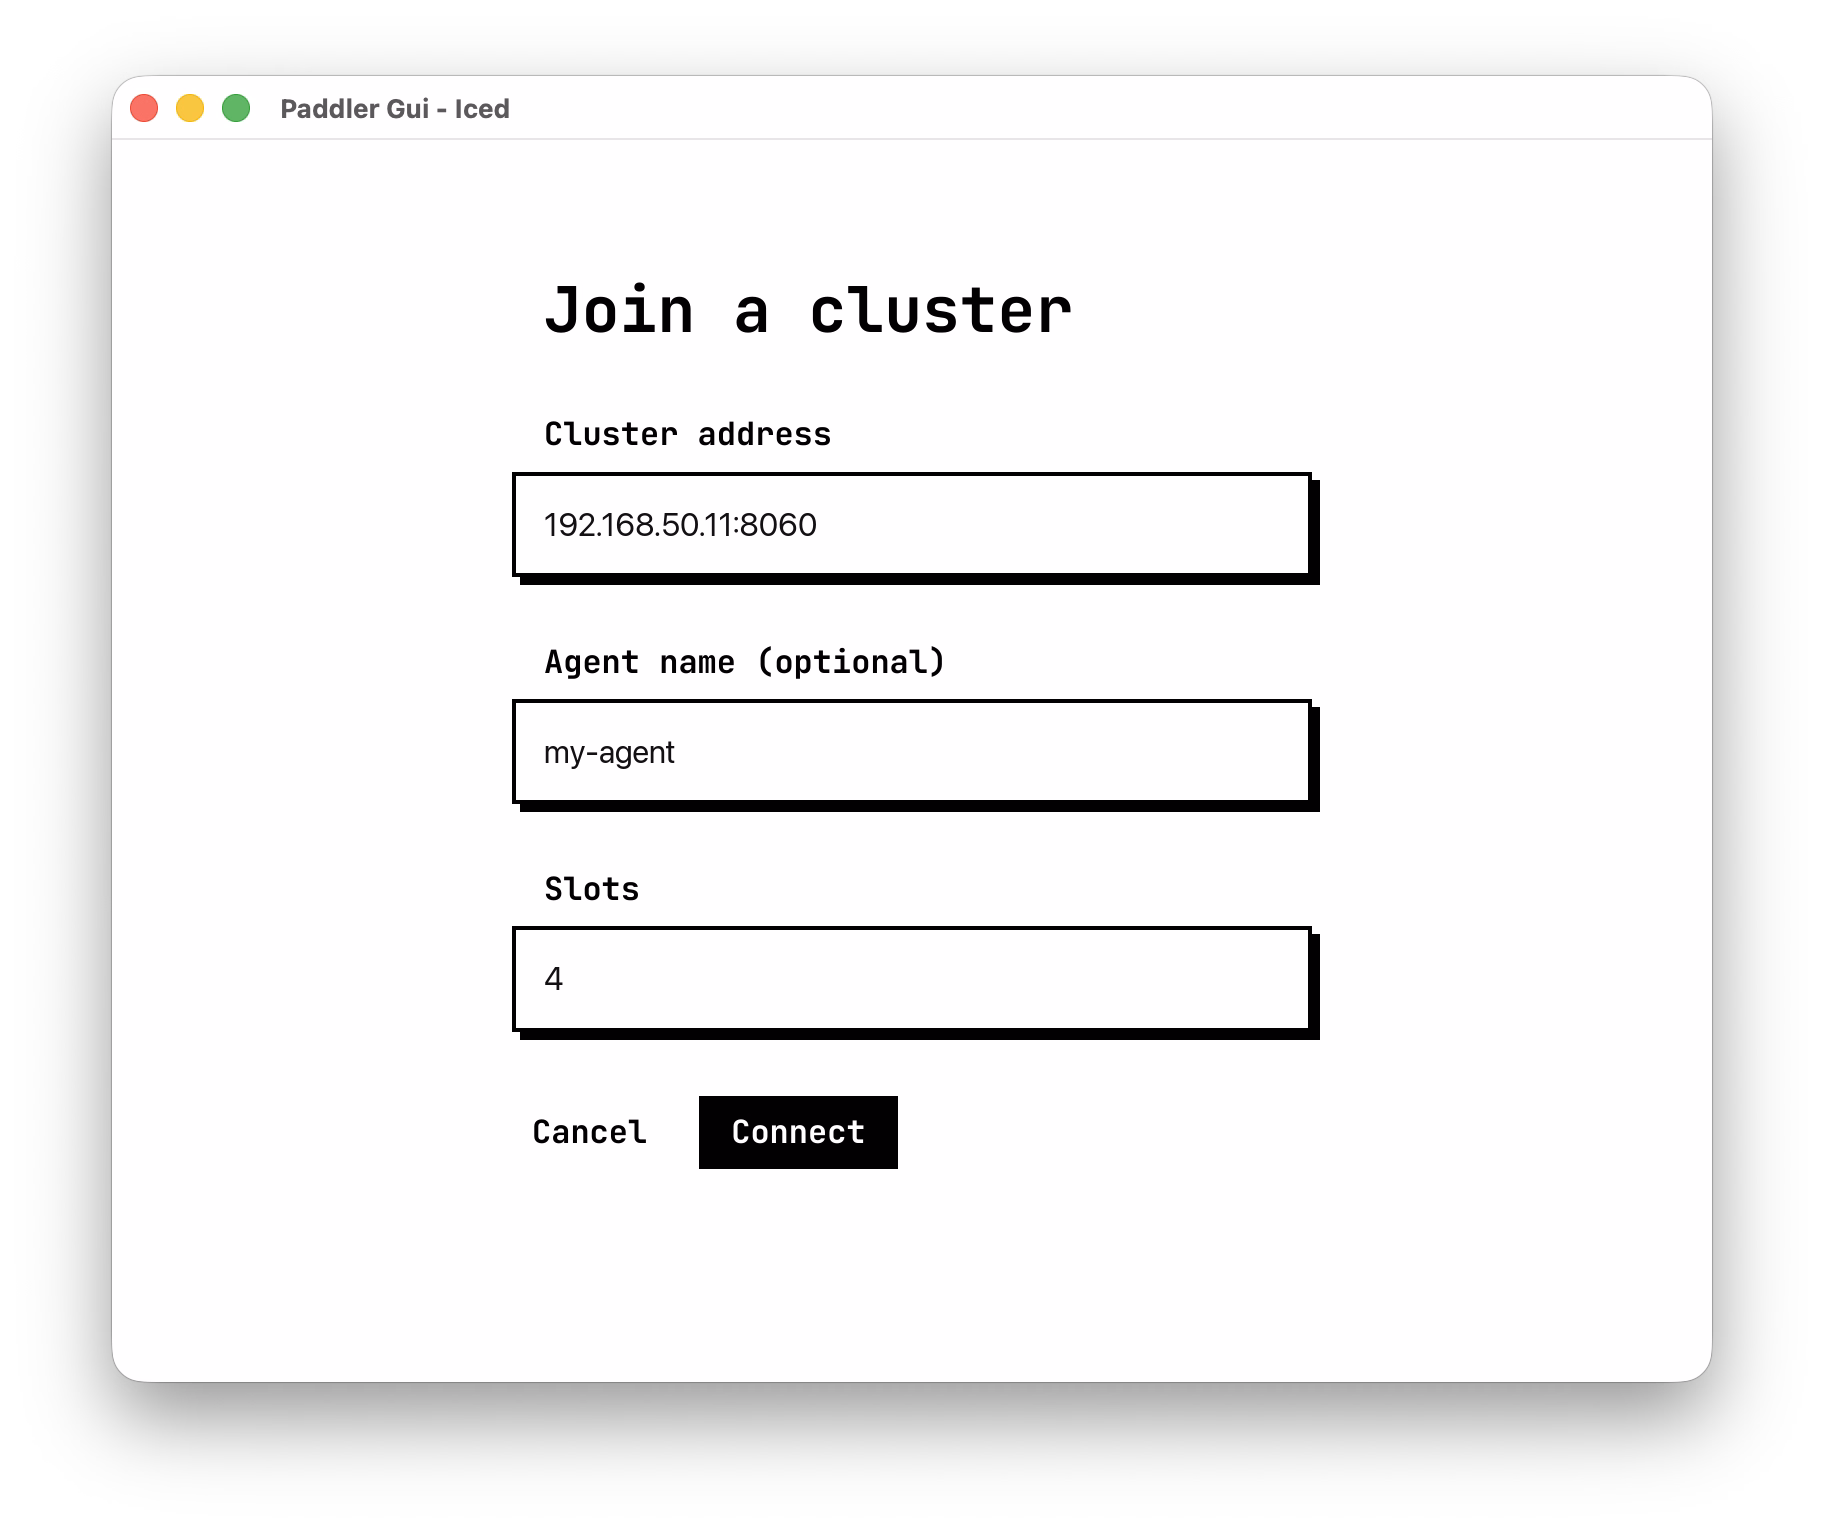
First, provide the IP address and port of the cluster you wish to join. You should receive it from the person in your network who is responsible for setting up the cluster.
Next, as an optional step, you can name your agent. This name will be visible to the person running the cluster.
And finally, provide the number of slots. This is the number of concurrent requests your computer can handle at a time, and the exact number depends on how much of the computational power you have on your machine. So this strongly depends on the concrete hardware you're running with. You can run some benchmarks to determine the most appropriate number for your case, but ideally, start with something small like 4.
Viewing your agent details
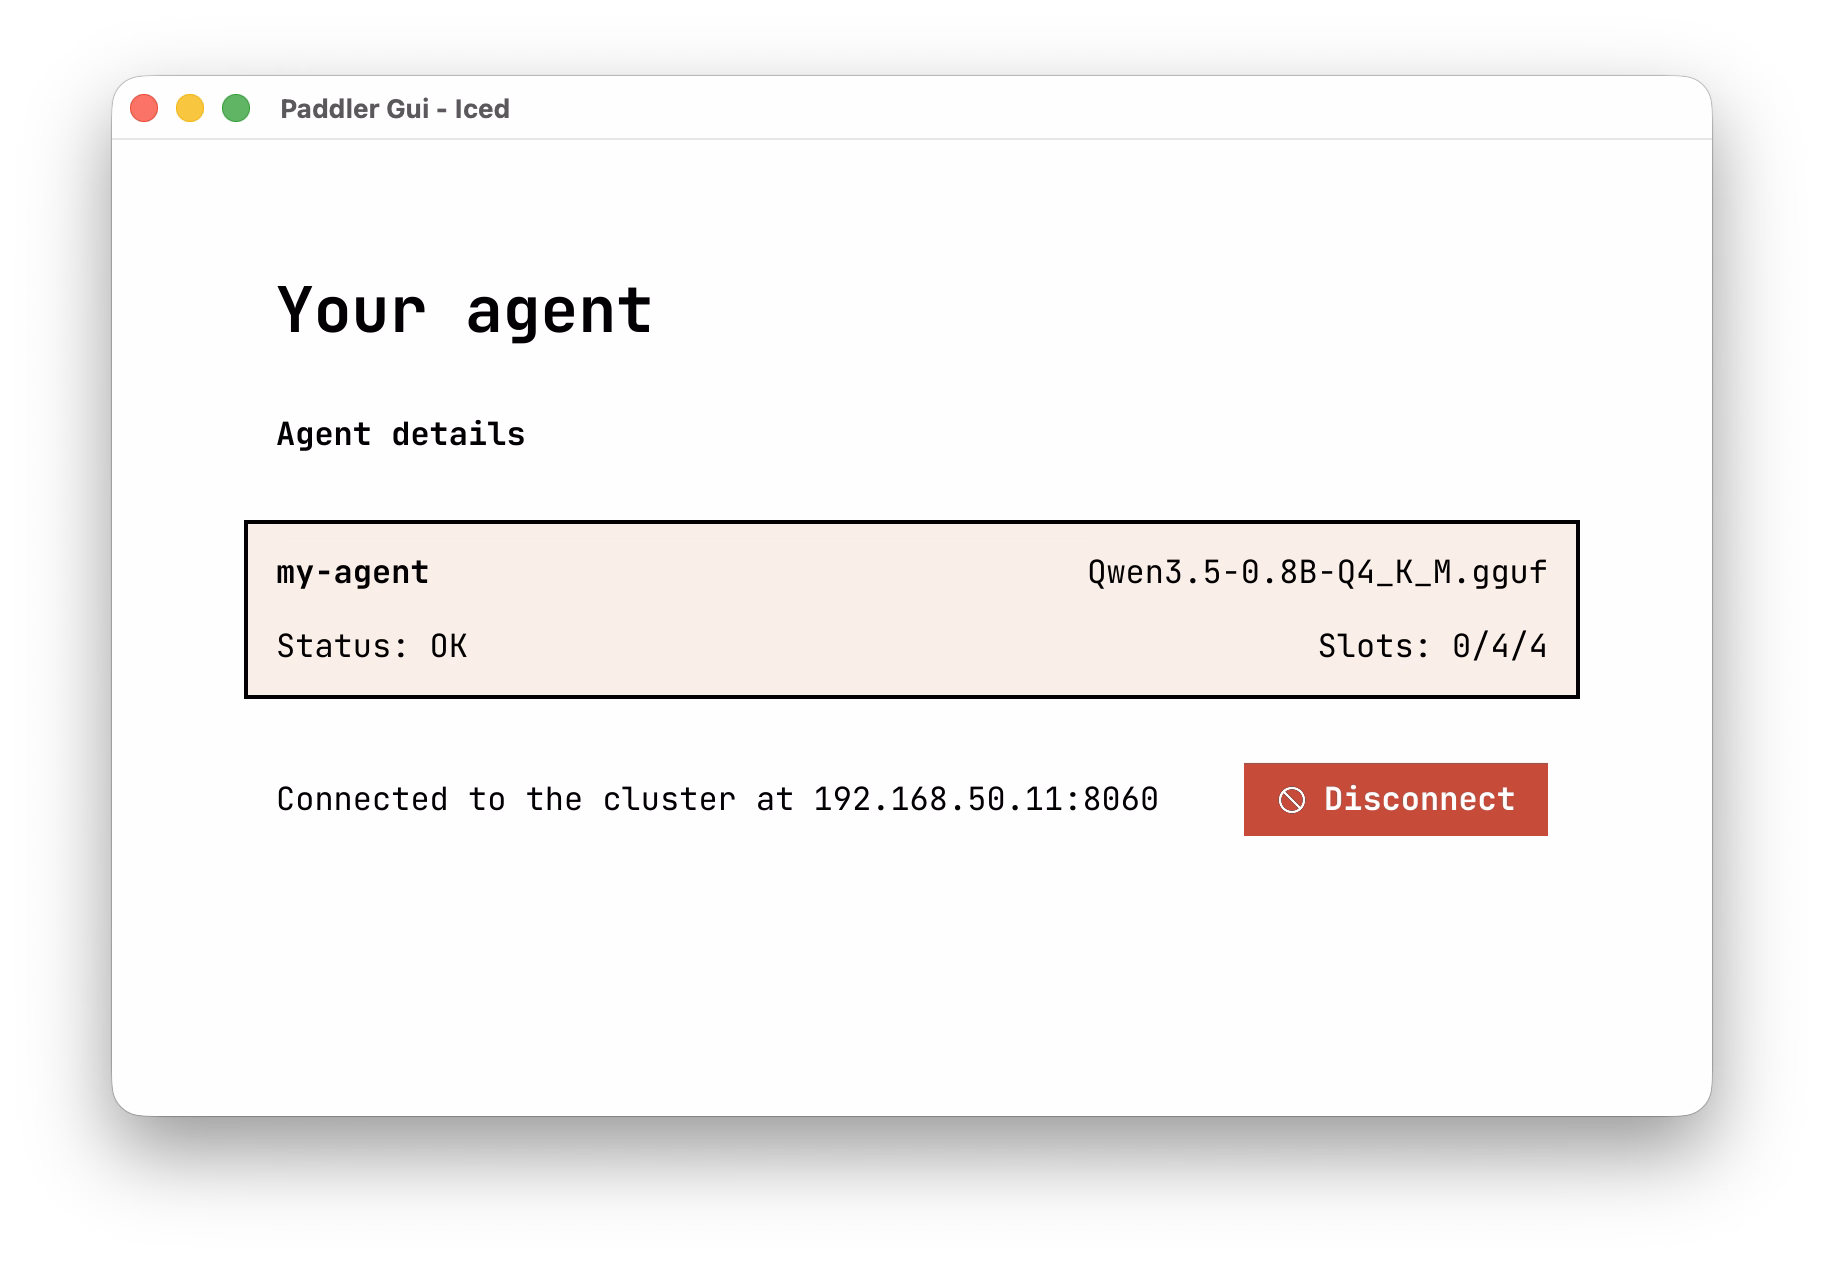
Once you start your agent, you will see a very simple view with the basic details: the status of your agent and the model it is running. The model depends on the choice made by the cluster manager. Alternatively, you can see that no model is selected yet, or a progress bar if the model is being downloaded.
There's also a button that will allow you to disconnect your computer from the cluster.